

Author’s new DIY studio
I’m currently sitting in my brand-new, 100-square-foot studio. Really, it’s a 10×10-foot shed kit that my husband constructed, and insulated so it’s bearable, but I call it my “off-grid studio/office” to anyone who’ll listen. For the past three or so years, my only “studio” has been a Grand Canyon National Parks reusable bag full of split-primary acrylic paints, a Corpus Christi Hooks plastic beer cup, and assorted brushes.
I’ve enjoyed making a go at a regular studio practice at the kitchen table, but maaaaan have I missed a room of my own (thank you, stimmy check!). Our current house, a two-bedroom, one-bath cube situation on the sunny side of a mountain (we live in New Mexico) is 530 square feet, including closets. Fine, but when you squeeze in two adults and one child-sized hoarder (and a dog!), working on a painting larger than 36 inches on any side is challenging. Not to mention storing the thing while it dries safely out of reach of crayolas, swishy tails, the miscalculated sideways shuffle between things. It’s tricky, to say the least.
I’m not alone in the small-space or no-space-to-work plight, with many artists who’ve come up with solutions (in fact, please comment below with yours). Meanwhile, here’s a list for someone considering constructing and figuring out what to put in their DIY studio (with product links).
Twins
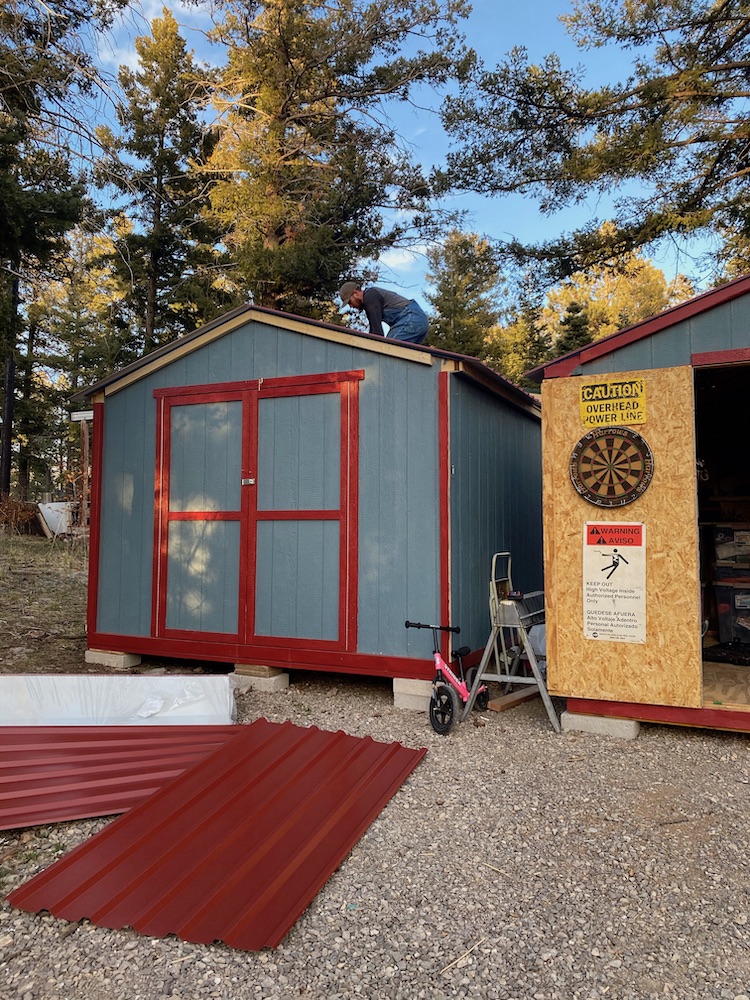
1. The Handy Home Products Do-It-Yourself 10×10 wood shed kit: It was not horribly difficult to install, and some home improvement stores will actually deliver and build the thing for you, depending on where you live. Just remember that you will also have to purchase a floor and a roof of some sort. If you live where it’s temperate, you may not fuss with insulation. If you live where it freezes or is hotter’n’hell, you may take this step to preserve your artworks (and your sanity). (Note: we got this shed because it matches the storage shed adjacent to it. I found even cheaper ones on Amazon, but have no personal experience or promises!)
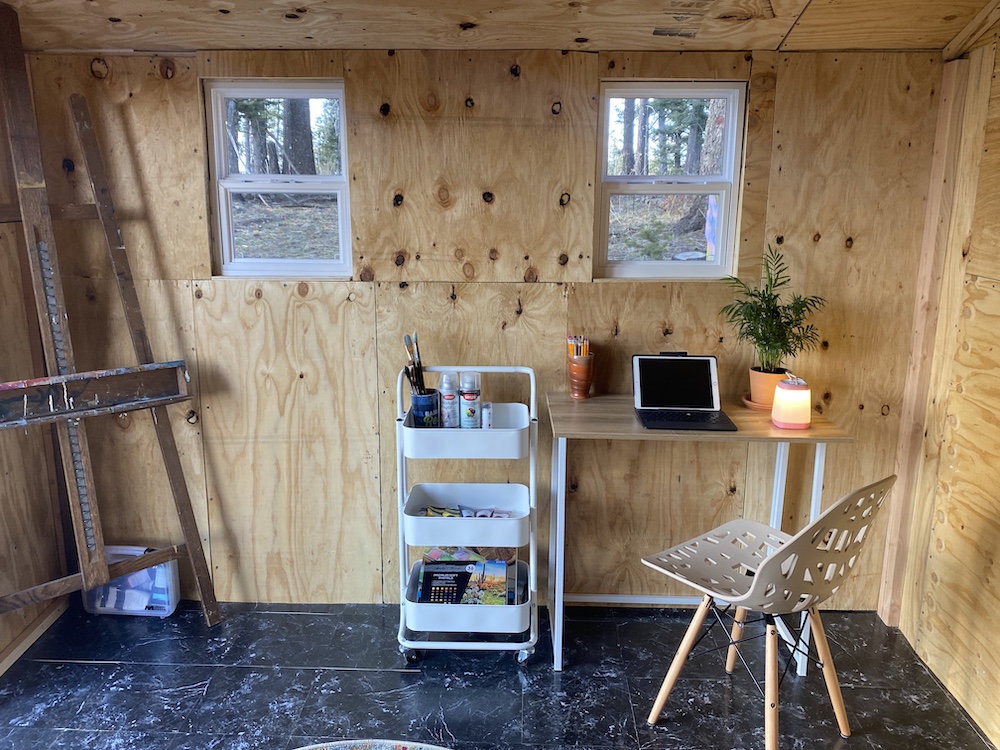
2. Lowe’s Project Source Vinyl Windows: These little puppies open and come with screens, were super easy to install, and were a breeze to position between the studs framing the shed. Something we learned: if you want maximum heat and light, place windows on a southern-facing wall. I opted for less efficiency in order to stare at the woods instead of my driveway. Eventually I want to add a port window at the front, but ugh, budgeting!
3. Battery-operated lighting: If your work shed is close enough to your house, you can probably get away with an extension cord to operate lighting and heating/cooling (see number 4). If not, I’d recommend yellow LED lights — blue or daylight bulbs are bonkers and mess up your circadian rhythm. I bought some fairy lights that turned out to be cute and useless, but this little camping lantern is my favorite non-migraine-inducing hue.
4. Mr. Heater Big Buddy Propane Heater: These efficient little dudes are built to be used inside campers and tents, so I don’t worry too much carbon monoxide poisoning. (I still have a monitor and crack a window when I use it, though.) For most of Texas, you’ll probably want a window A/C unit or a fan. I found this little guy that can operate from a computer battery, but that sounds like a pain in the ass. Work naked? Sew a custom painter’s smock from Frogg towels? You’ll figure it out!
5. A storage/painting taboret: I couldn’t find anything affordable, so I bought one of those popular rolling drink carts to do the job.
Holy grail $$$
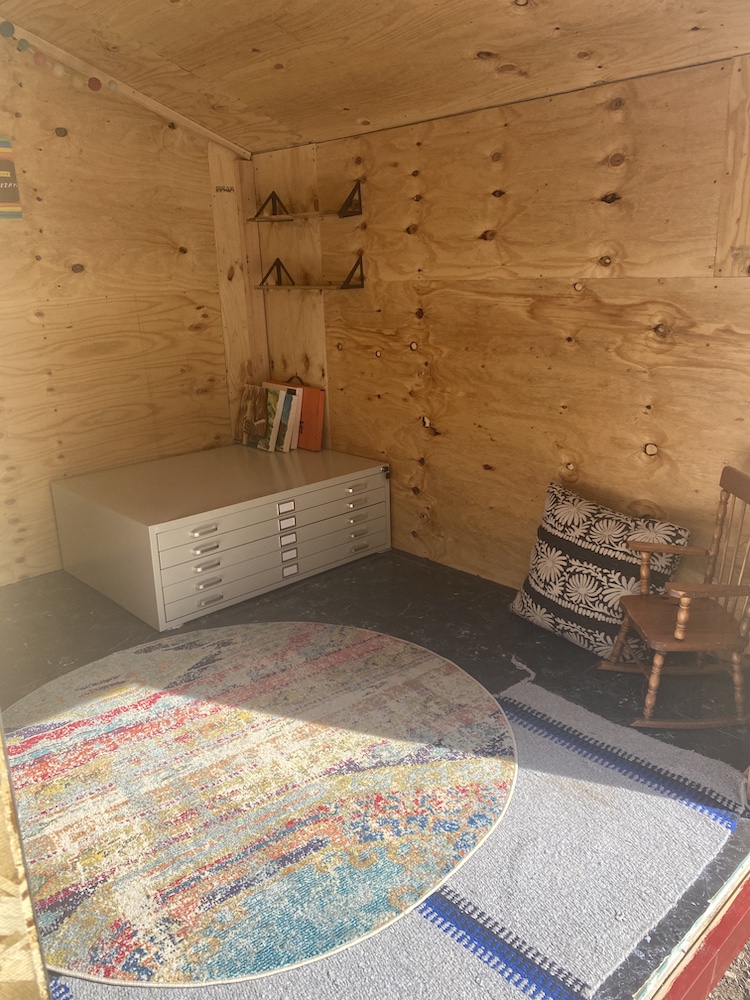
6. BIG ASS Art Storage: Aside from the shed itself, this was the big-ticket item. Because I don’t want vermin eating up or pooping on my art, I wanted a real, big metal flat file. I remember being astounded at how many watercolors Maja Ruznik was able to store in hers at her Roswell A-I-R studio. Like most specialized furniture, these are expensive, but I found one for about half the typical price here. It even fits “gallery wrap”-sized canvases pretty easily. (Check craigslist, too, or even check in with local art schools or community art centers to see if there are any deals to be had. People upgrade storage/move/etc. and sometimes get rid of great flat files — metal or even beautiful vintage wood ones.)
7. Work desk and easel: I have an old easel I grabbed from the trash in my undergrad. A brush has replaced one of the pins that holds it together; it’s got character! I found a teeny folding desk that is perfect for my iPad, my phone, and a drink. I probably could have thrifted or used leftover plywood to build something similar. Perhaps you could try out one of Enzo Mari’s brutalist DIY furniture designs, which I learned about through the 2020 Nasher Sculpture Center’s online Shelf Life project.
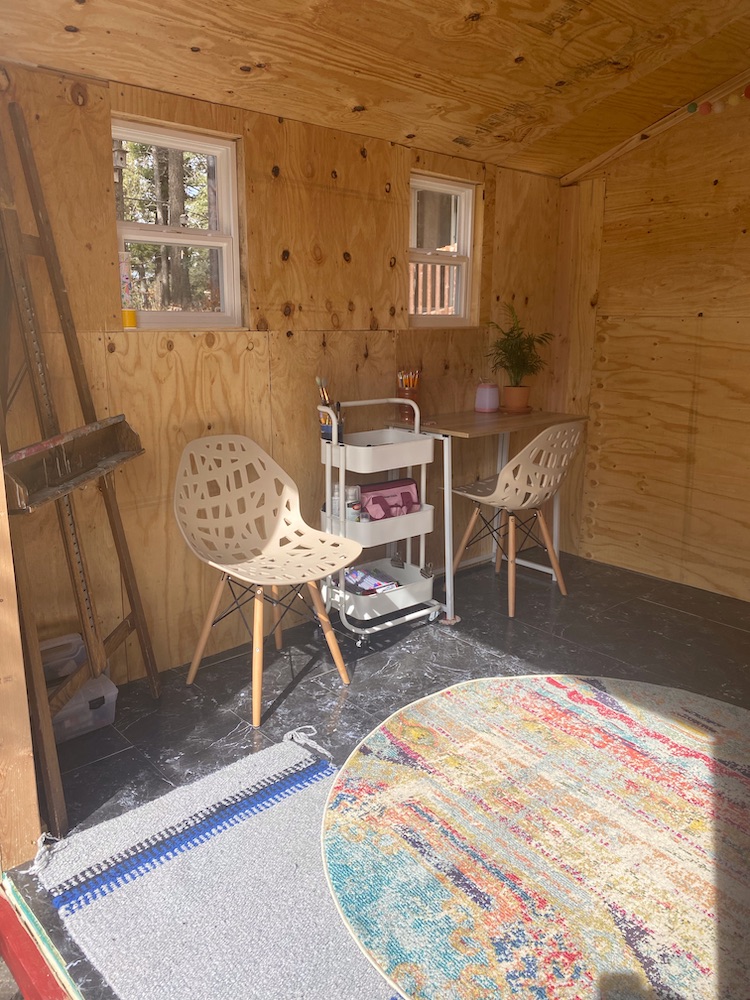
8. Things for the ‘Gram: a plant! A nice rug! Bookshelves! Things that aren’t exactly necessary, but I like the look of ‘em.
9. A chair or two, if you expect company. Kiddo has to hang out in here with me sometimes, so my husband used some leftover wood to make a Lego table (a cube with a super-glued Lego pad on top. If the IRS asks, I truthfully plan on painting pictures of some of what she constructs on there.
10. A Thank You Card: Yes, if someone helps you build this, or simply cheers you on, they deserve your undying gratitude. In this case, mine goes out to hubby Tanner and kid Stevie — the best studio-construction team on earth.
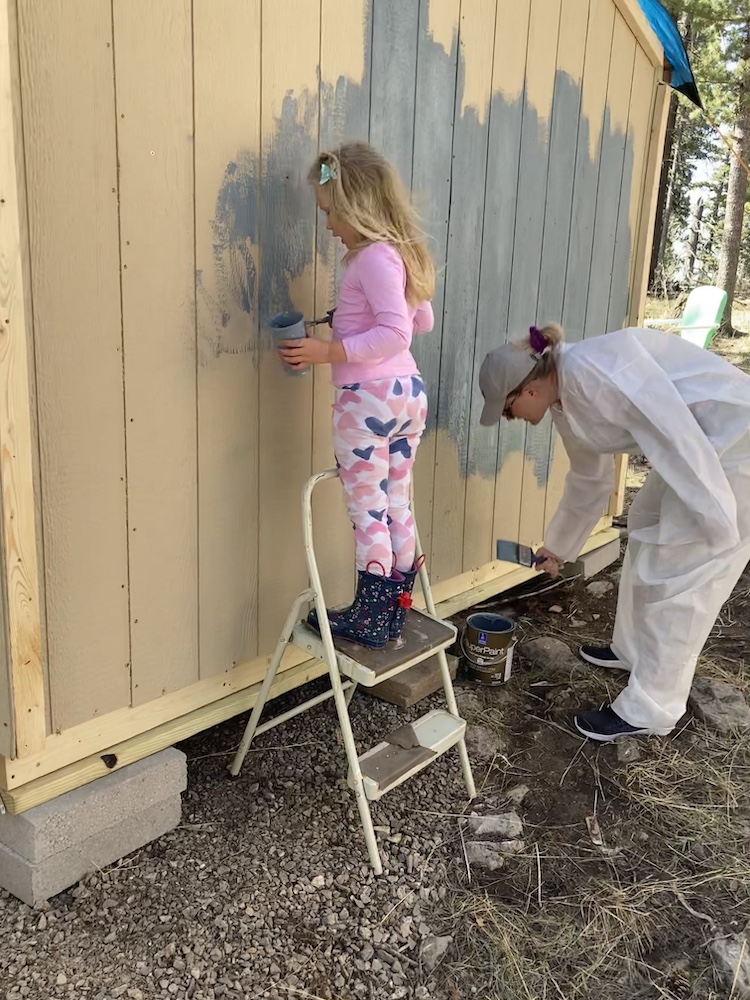
Author and studio assistant.

1 comment
https://www.youtube.com/watch?v=3tXUuKWxmAY my studio is 8×12′ 1200$ in materials , i have a wall easel , don’t be surprised if your 10×10′ slip around on those flat bricks, trenching electric to house main breaker for electric is not too hard